
Hi,
During the second lockdown we spent one morning in the house of one of Jannaeus friend. He had a climbing wall. In his room. And I thought – why not? Especially if the Coronavirus lockdowns will continue for long.
As the phrase goes – they will climb the walls. So it will be the case anyway, Why not let them enjoy it ![]()
It really isn’t hard to built the – climbing wall by ourselves. Many manuals online and a lot of people happy to help out.
Aba helped me and brought me the plywood and the timber boards (I guess around 500NIS for the plywoods and the framing. I don’t really know as he said it is a present ![]() ). We ordered the climbing rocks from an Israeli manufacturer – Gravity blocks (1,580 for 50 blocks and bolts, 150 T-nuts). And I bought some Varnish, roller, wood to wood screws and wood to blocks (Another 299 NIS). Around 2,400 NIS for a wall is 168x244cm – not bad.
). We ordered the climbing rocks from an Israeli manufacturer – Gravity blocks (1,580 for 50 blocks and bolts, 150 T-nuts). And I bought some Varnish, roller, wood to wood screws and wood to blocks (Another 299 NIS). Around 2,400 NIS for a wall is 168x244cm – not bad.
A ready to buy wall of 122*244cm wall with 30 holds is 2,350 NIS. So we got about 40% more wall, Plus the enjoyment of DIY ![]()
So now we have a wall, now we only need to convince the kids to climb on it ![]() Jannaeus already climbed once, and Mindal still looking for a route, We arrange her an easy way up, but maybe not easy enough.
Jannaeus already climbed once, and Mindal still looking for a route, We arrange her an easy way up, but maybe not easy enough.
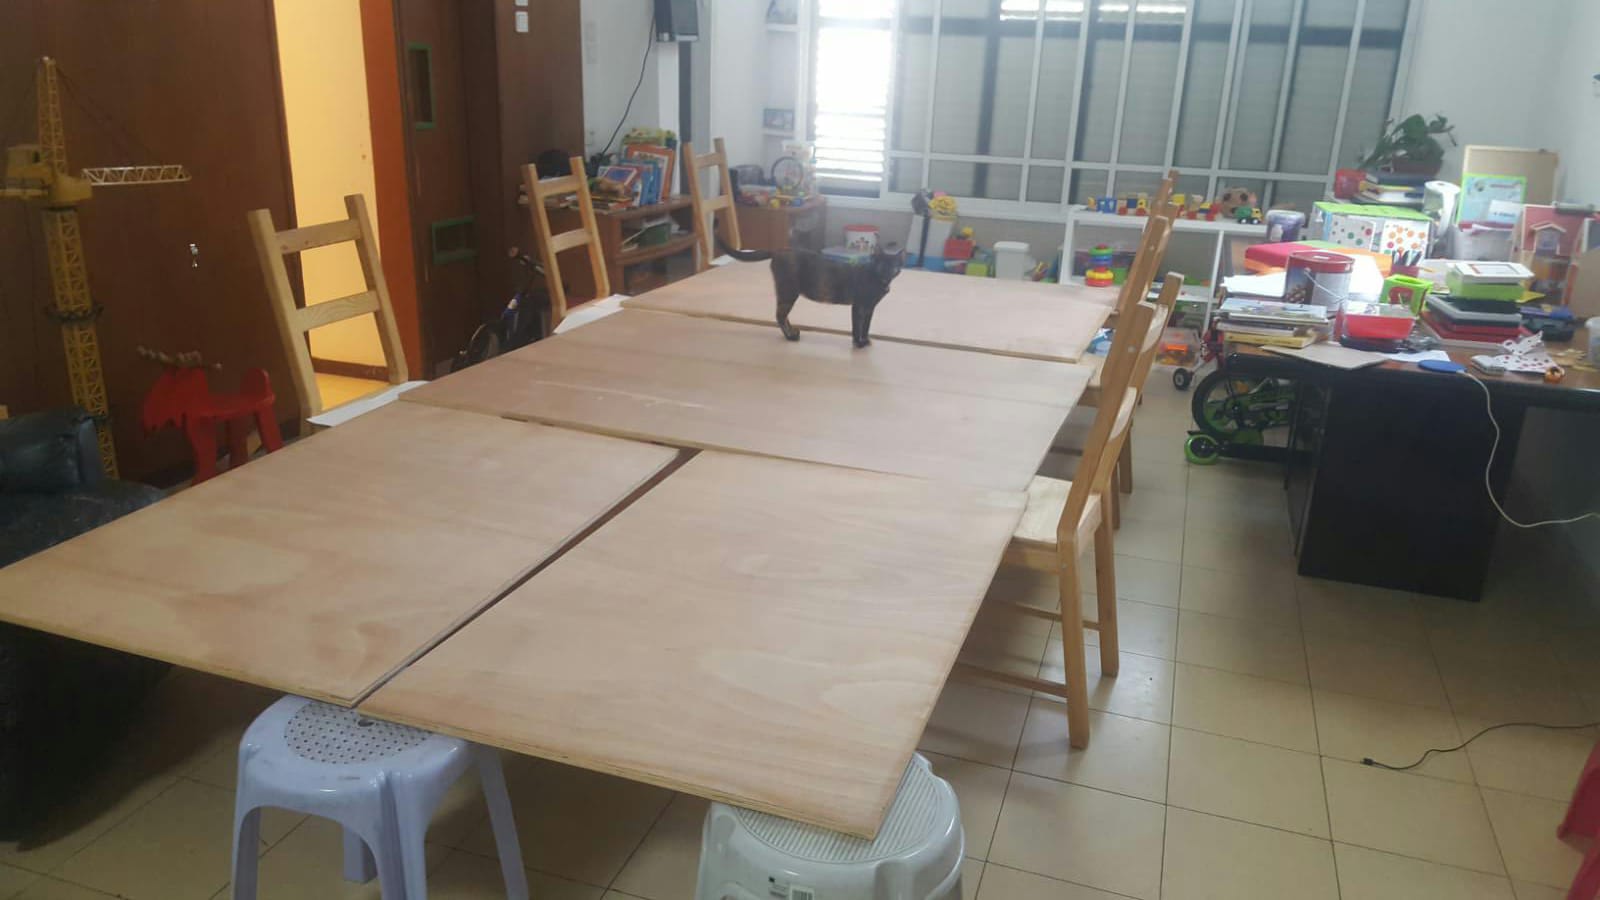 At first I thought of painting the all the plywood at once, but it would have too much mess.
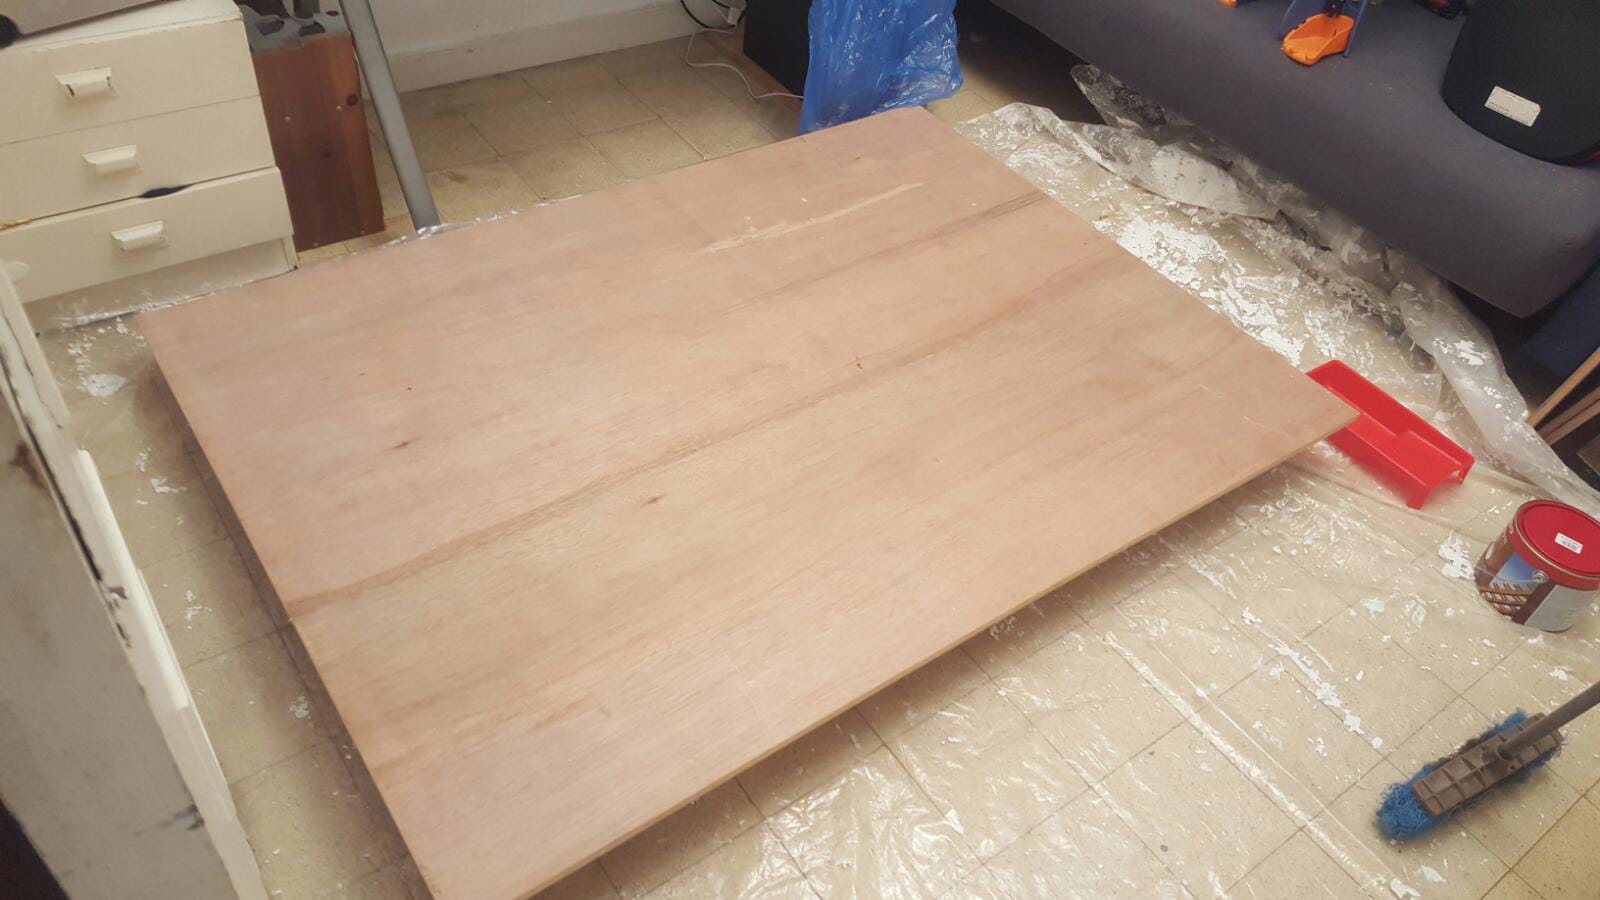 Covering the plywood with Varnish. This was the longest part – two plates, two layers, two sides and only when no one at home during the day = two weeks.
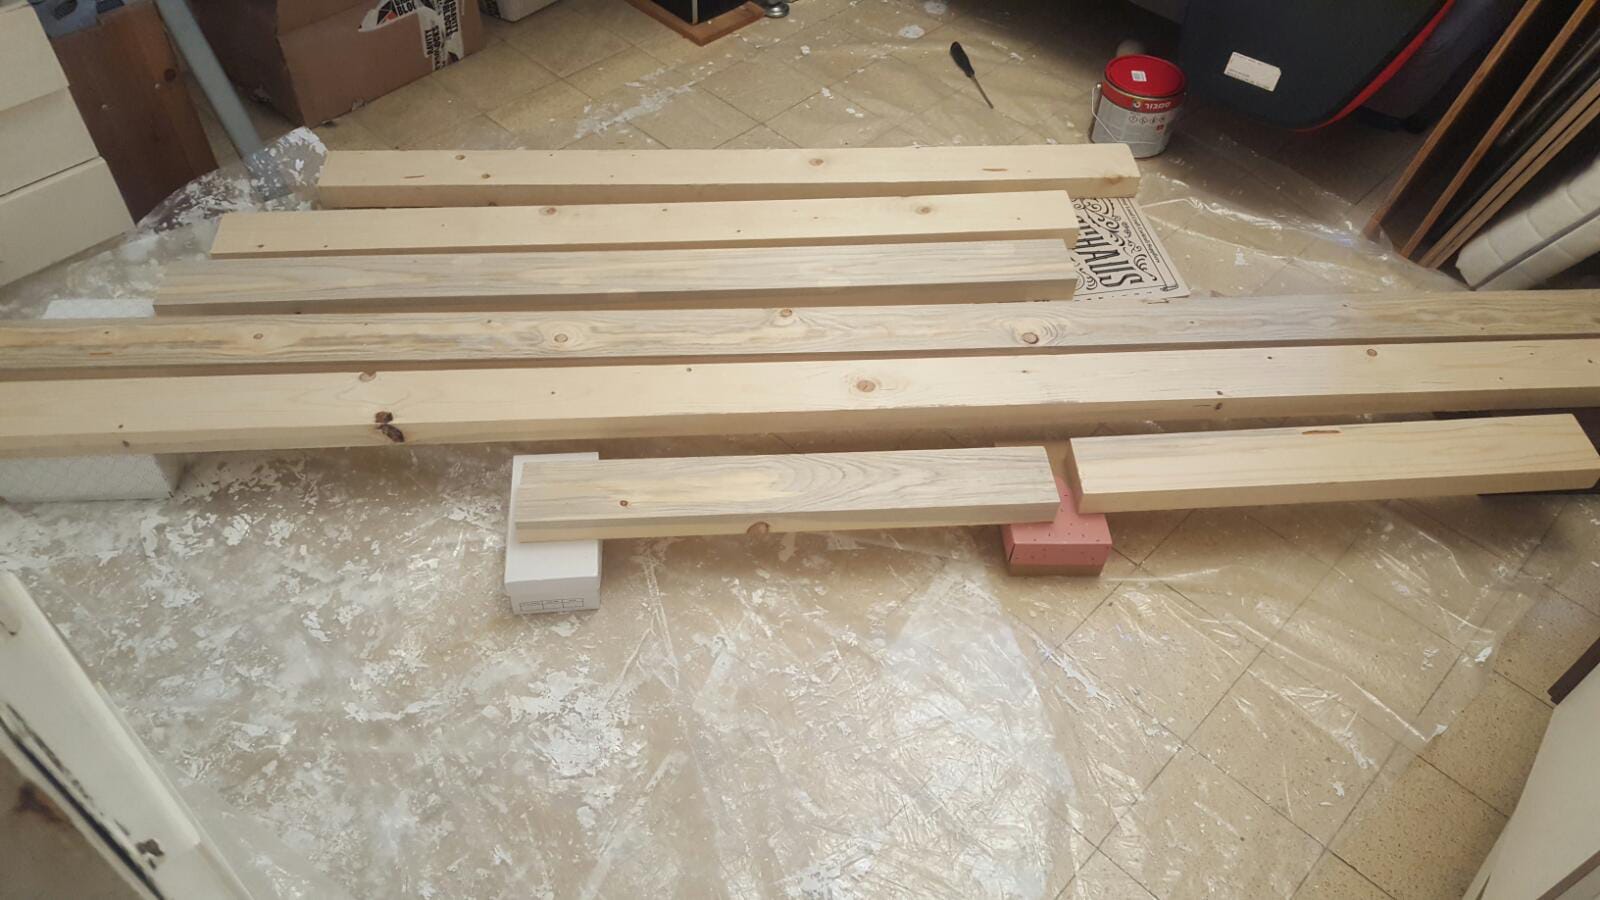 The 5.1×10.2cm boards painted with Varnish, another week.
 Marking down the grid for the T-nuts. Around 20-25 cm from one to the other, and watch out not to place it where a board will be (on the parameter).
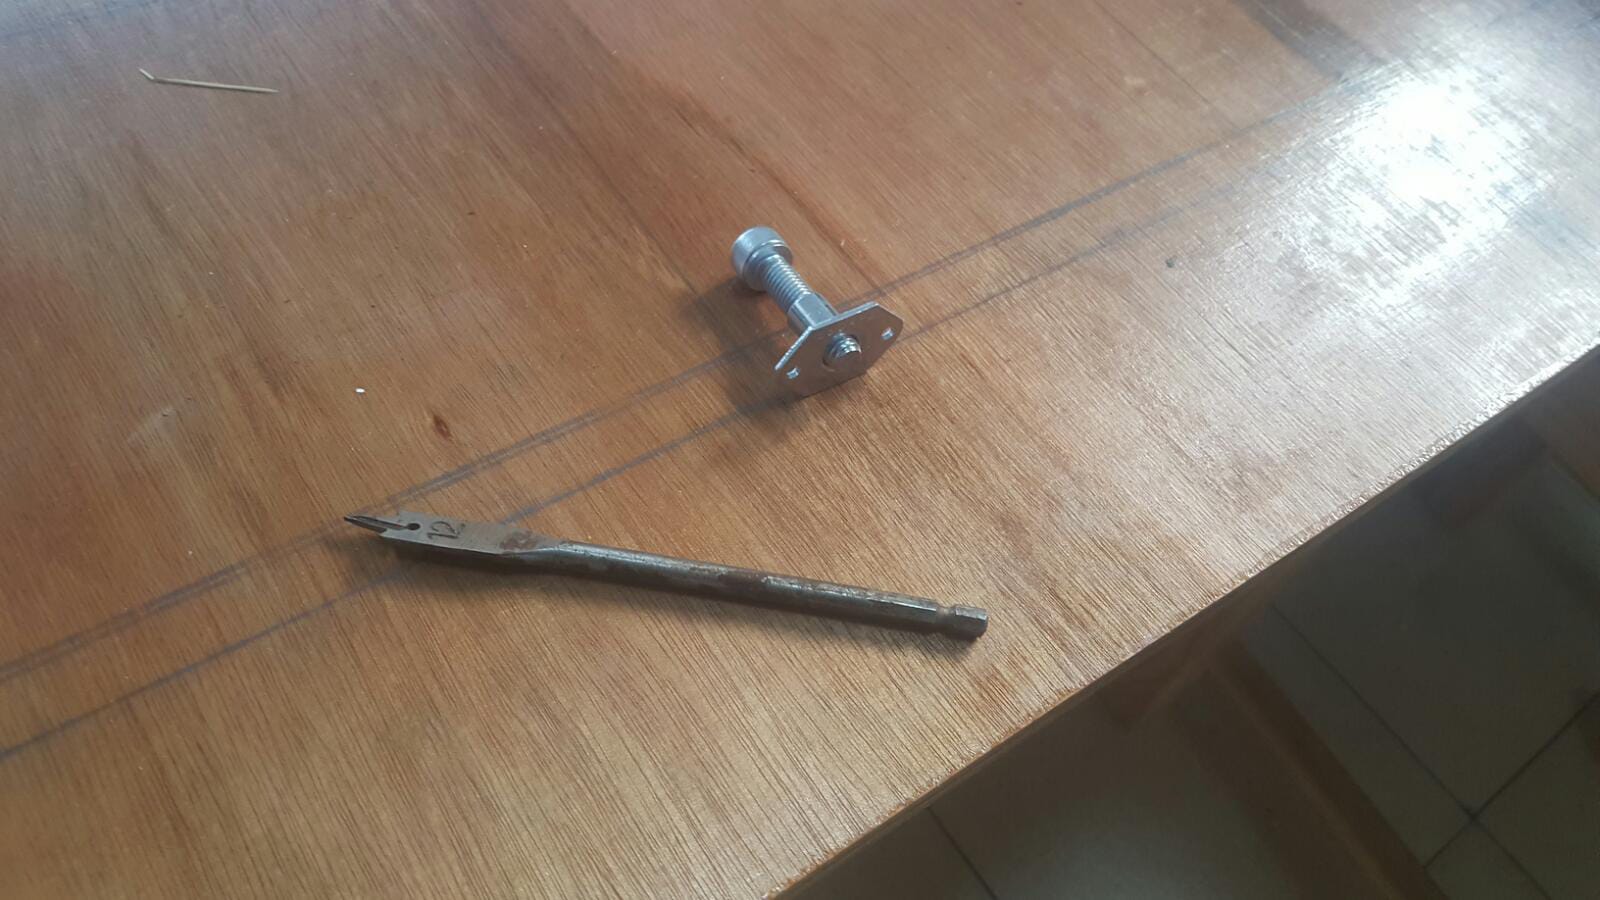 The 10M bolt used to hold the rocks, the T-nuts (special from Escape), the and 12mm wood drilling bit I used.
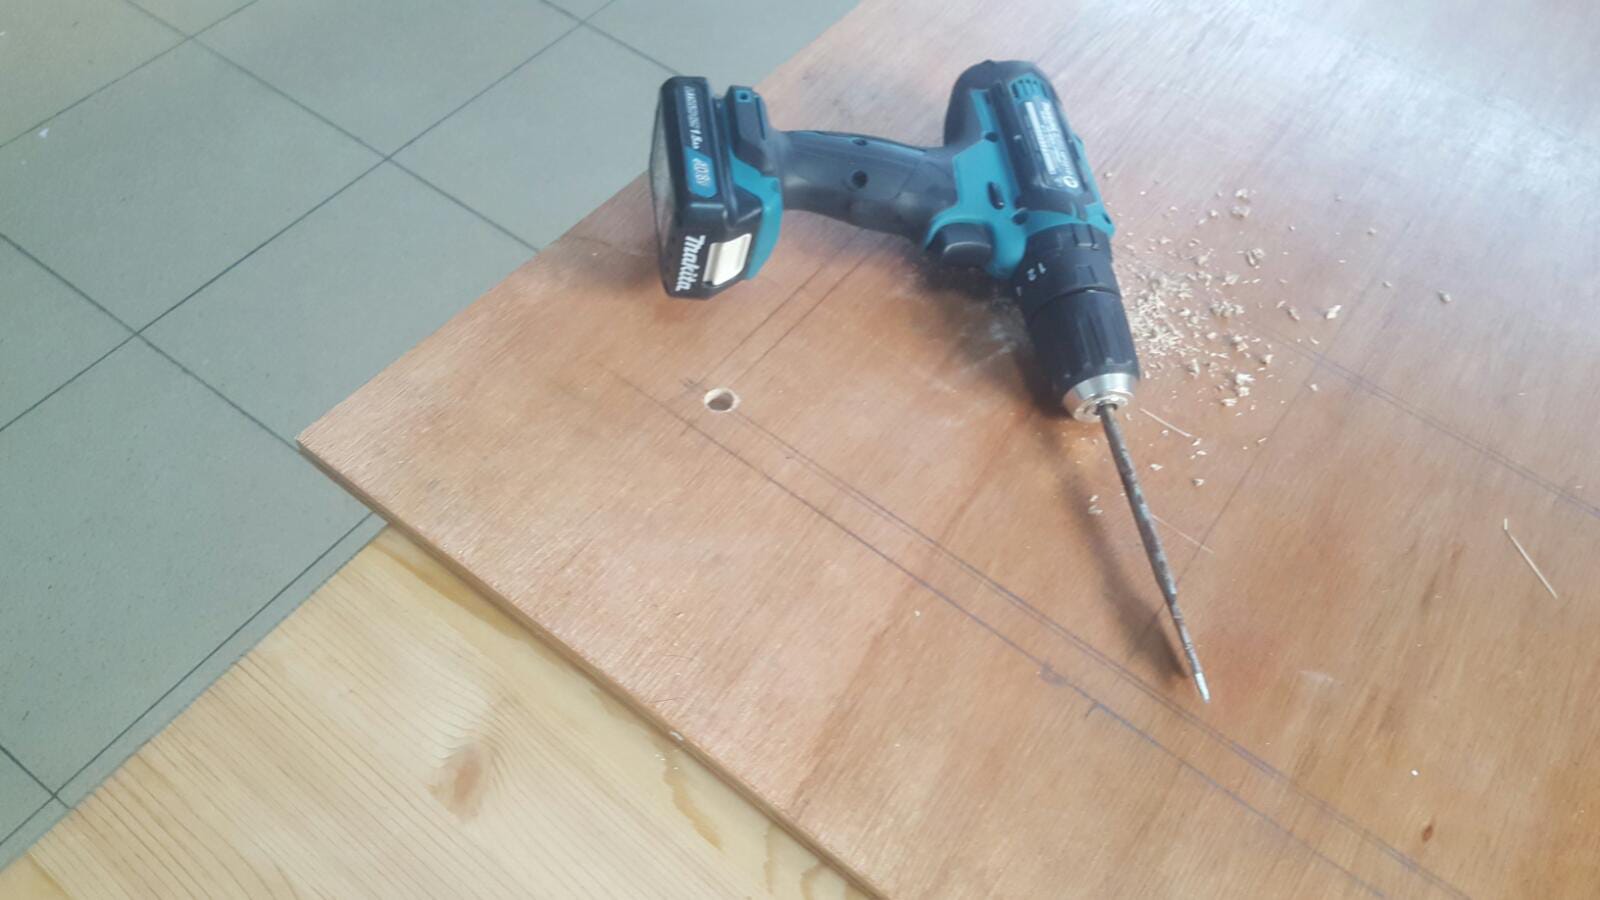 First hole
 ![]() . Later on I realized that if I go through from one side to the other it blows up the plywood. Better drill half way, and then drill the rest from the other side.
. Later on I realized that if I go through from one side to the other it blows up the plywood. Better drill half way, and then drill the rest from the other side.
 Jannaeus helping out
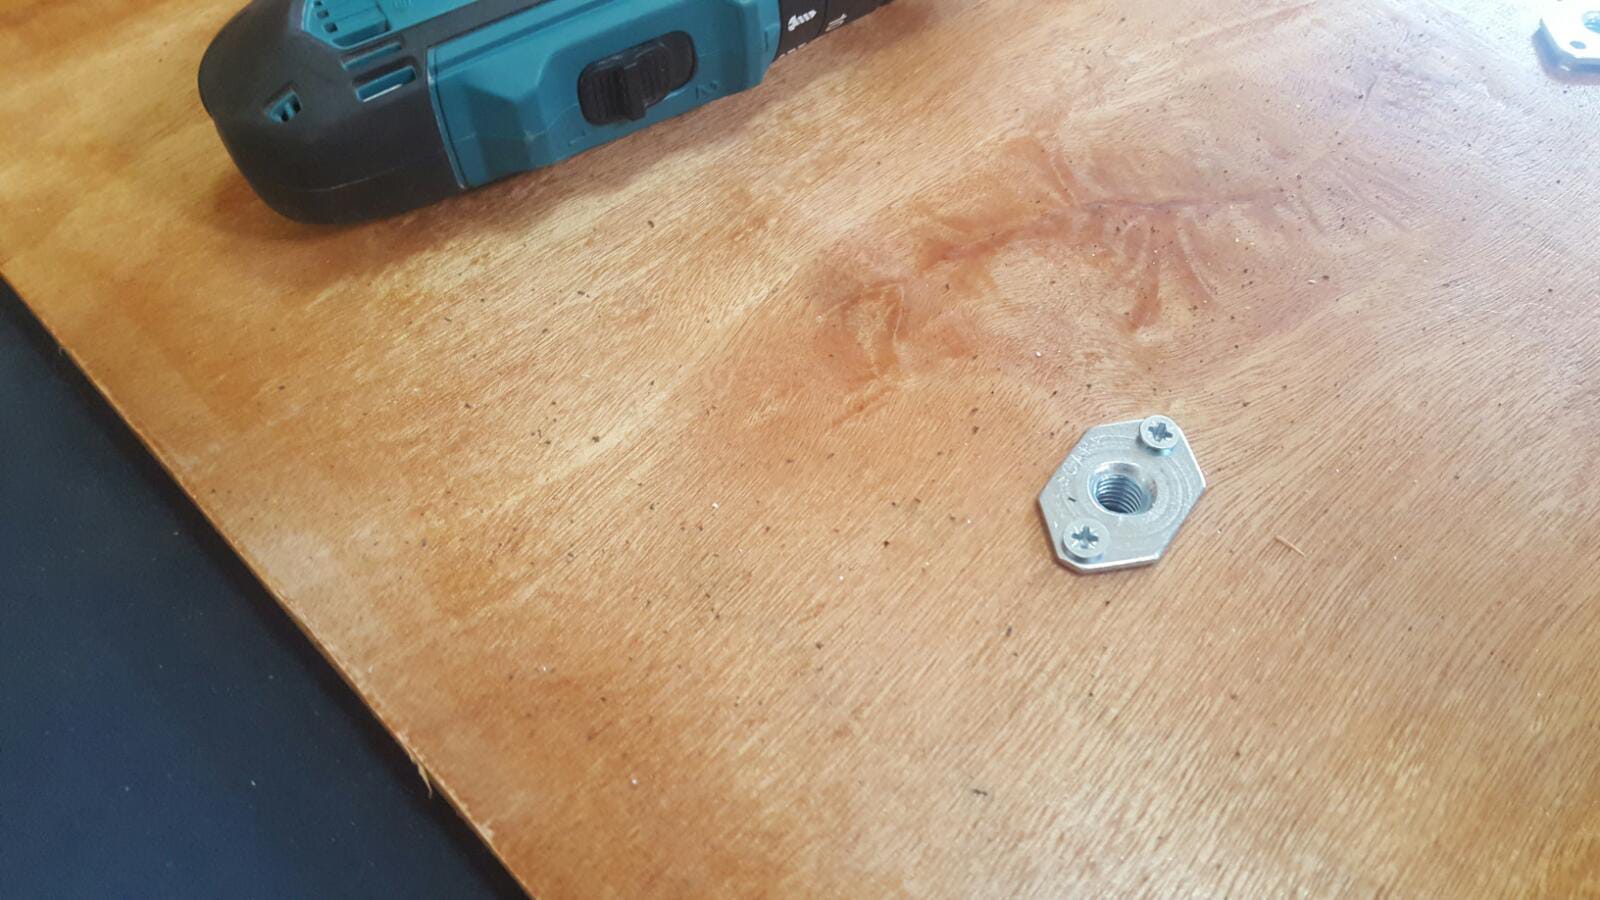 And the first T-nut in place and secured with bolts
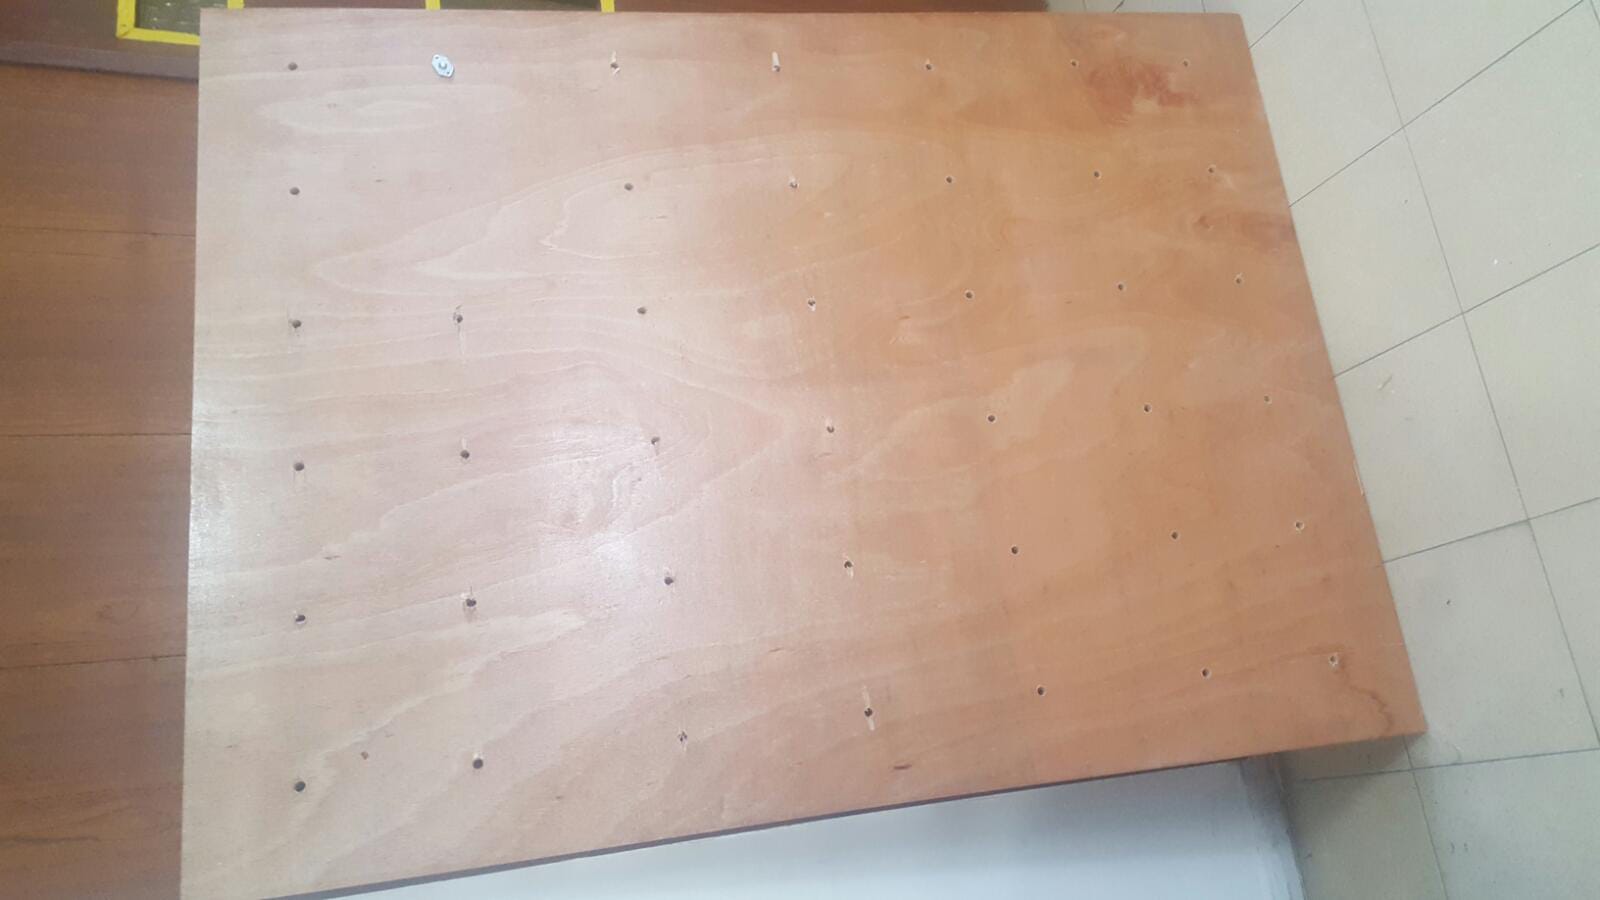 The plywood fully holed and ready for the T-nuts
 Hammering the T-nuts in place. The first plate went good, the second less and I blow up the wood (covered it with the climbing rocks). I guess I should have push the T-nuts with a piece of wood and only in the end hammer it down.
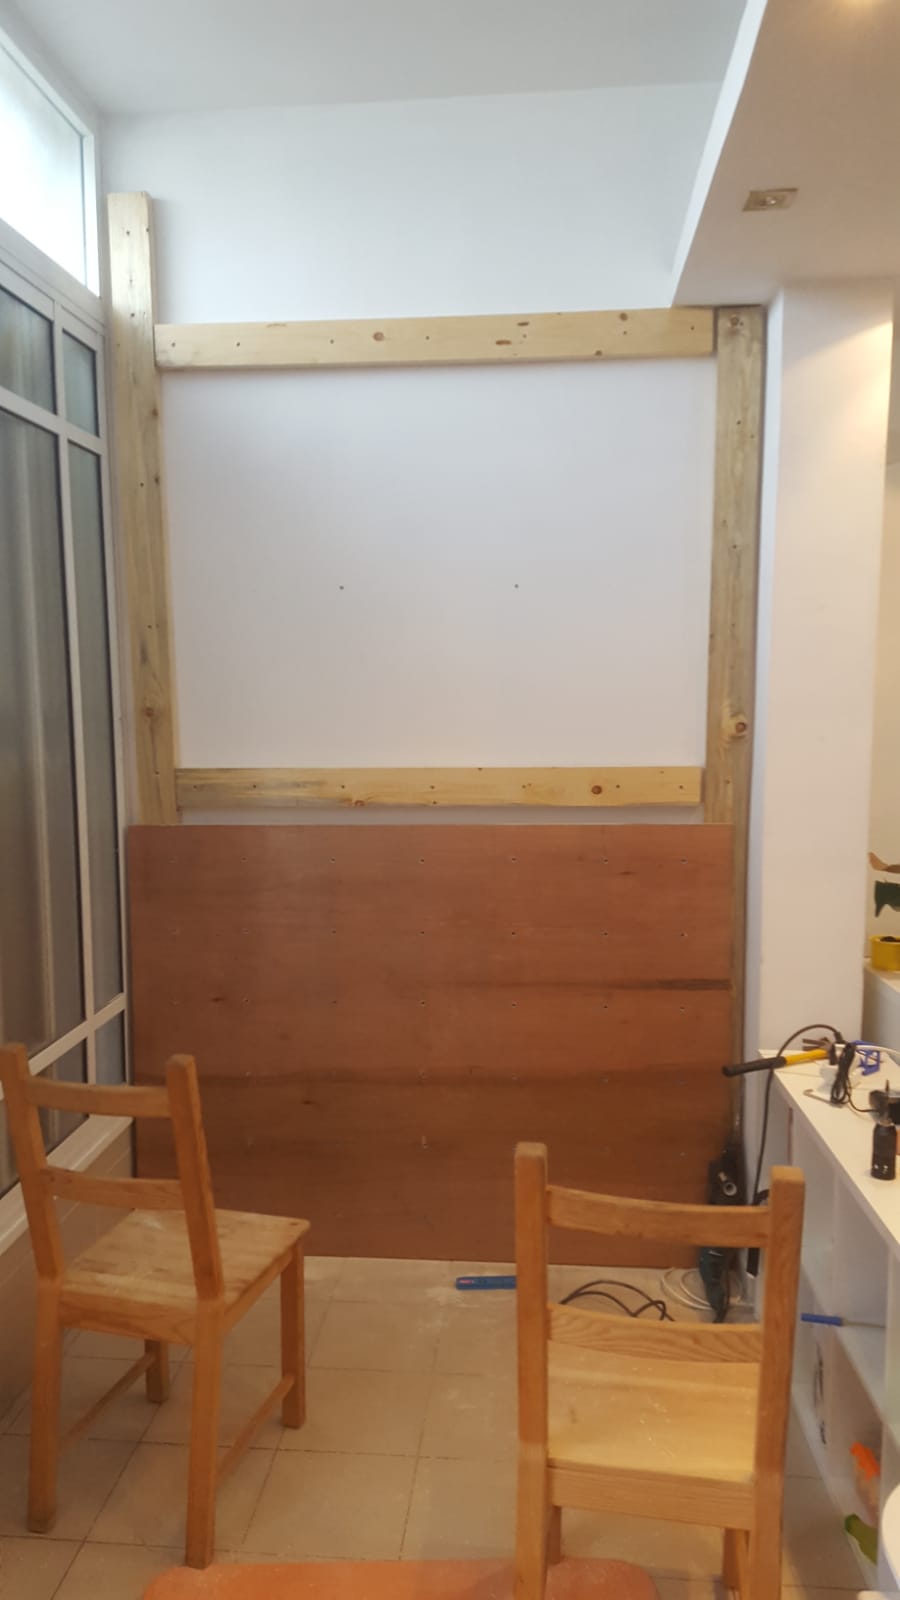
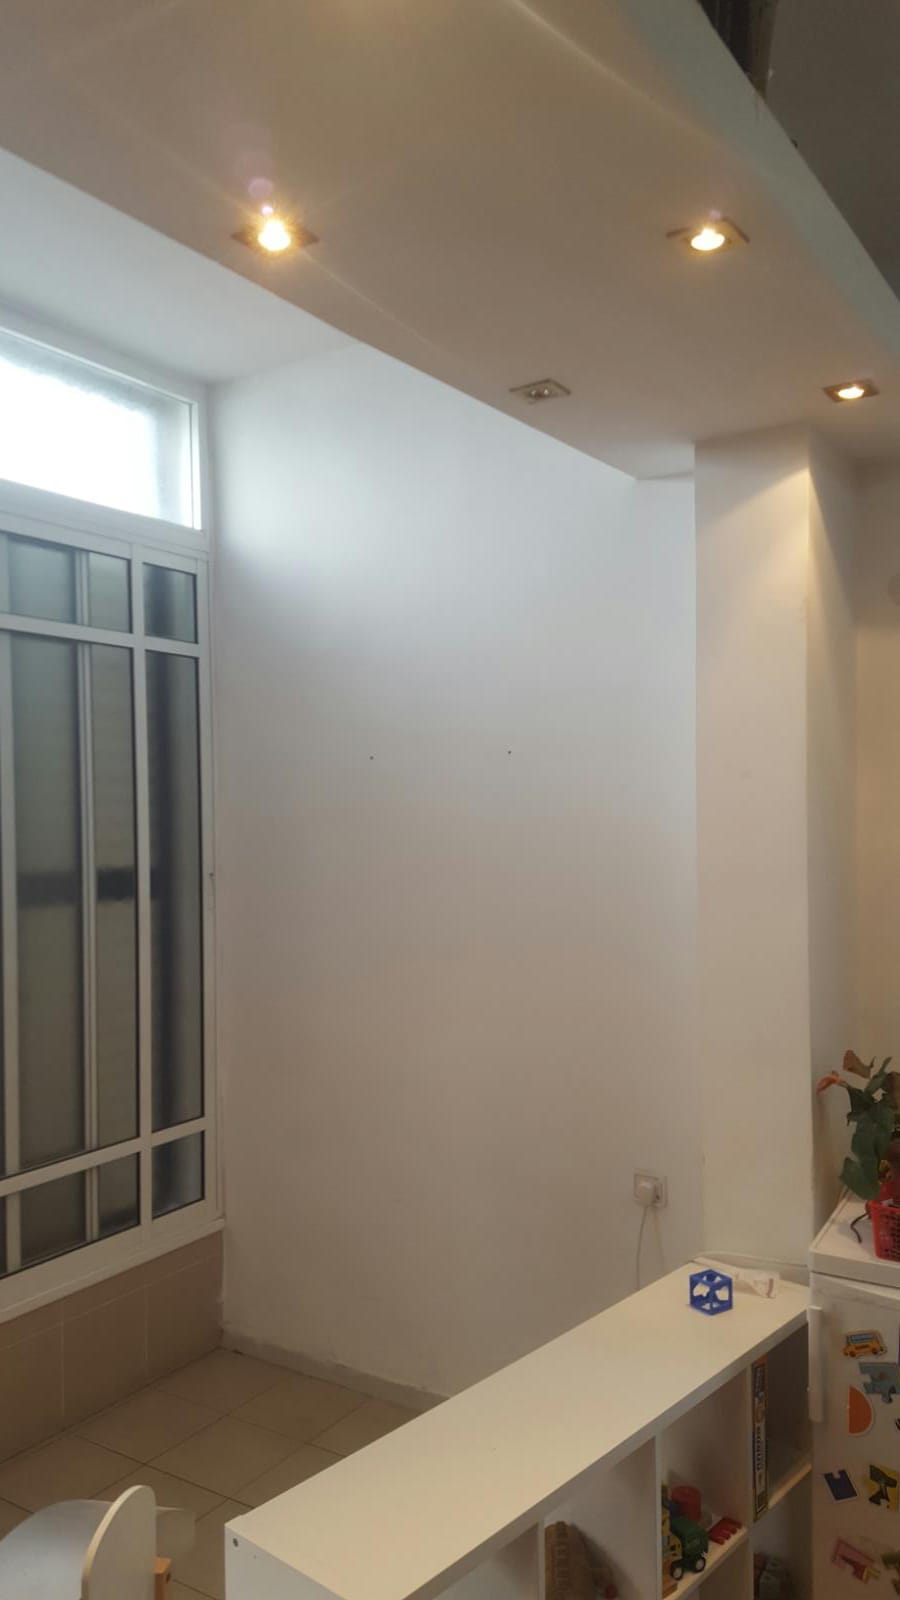 The empty wall
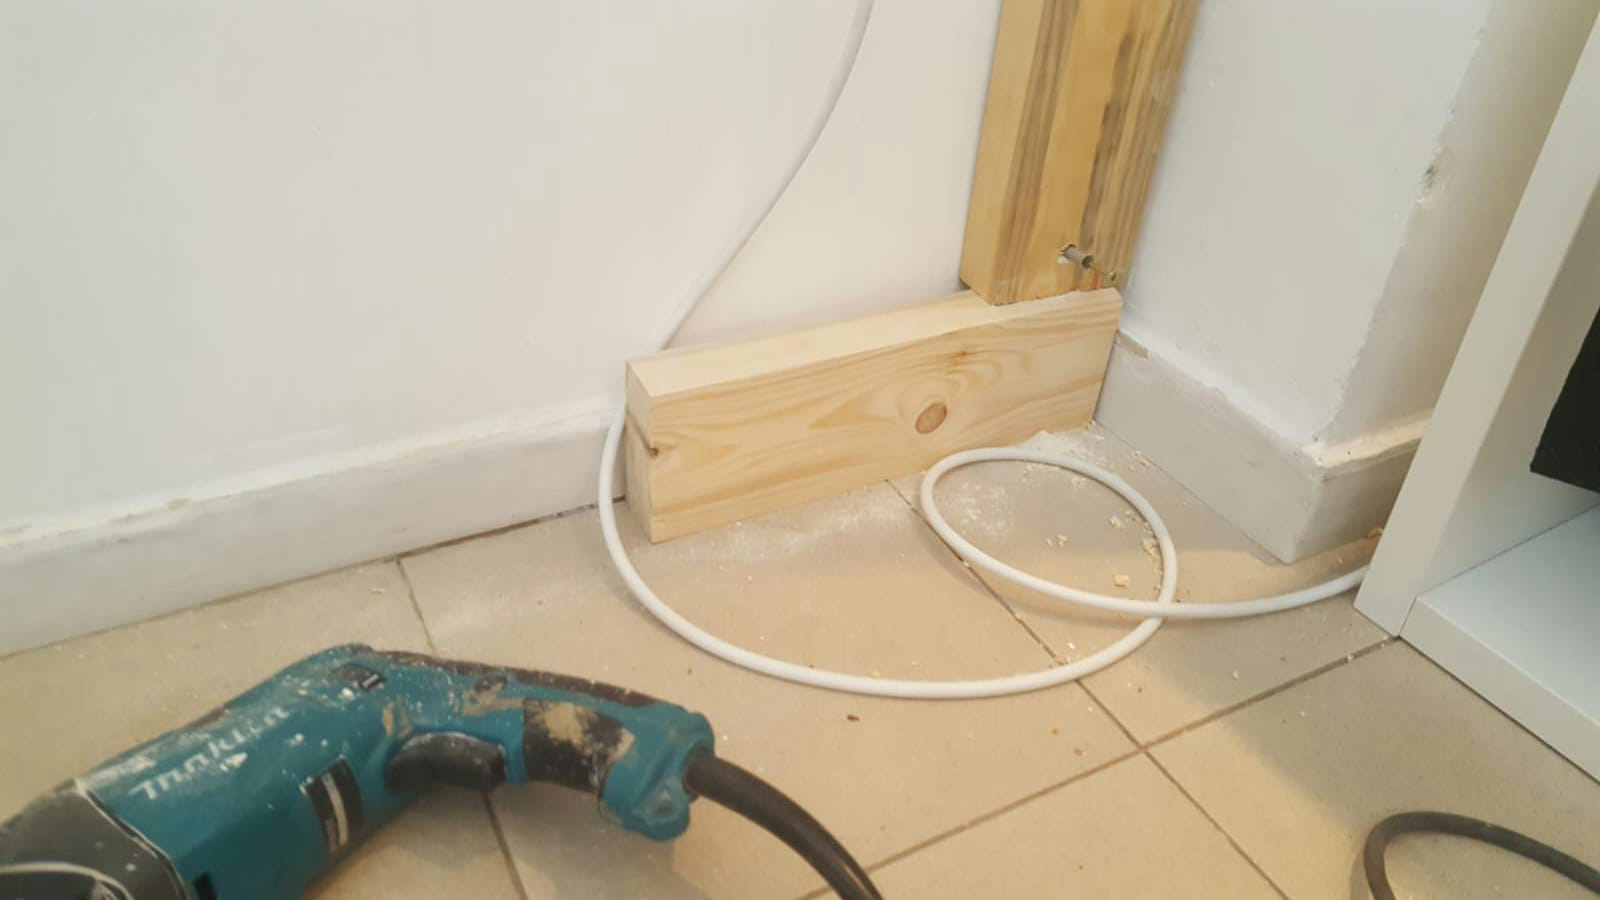 First screw to the wall. I wasn’t sure if the wall is silicate bricks or hollow masonry so I used hammered screws
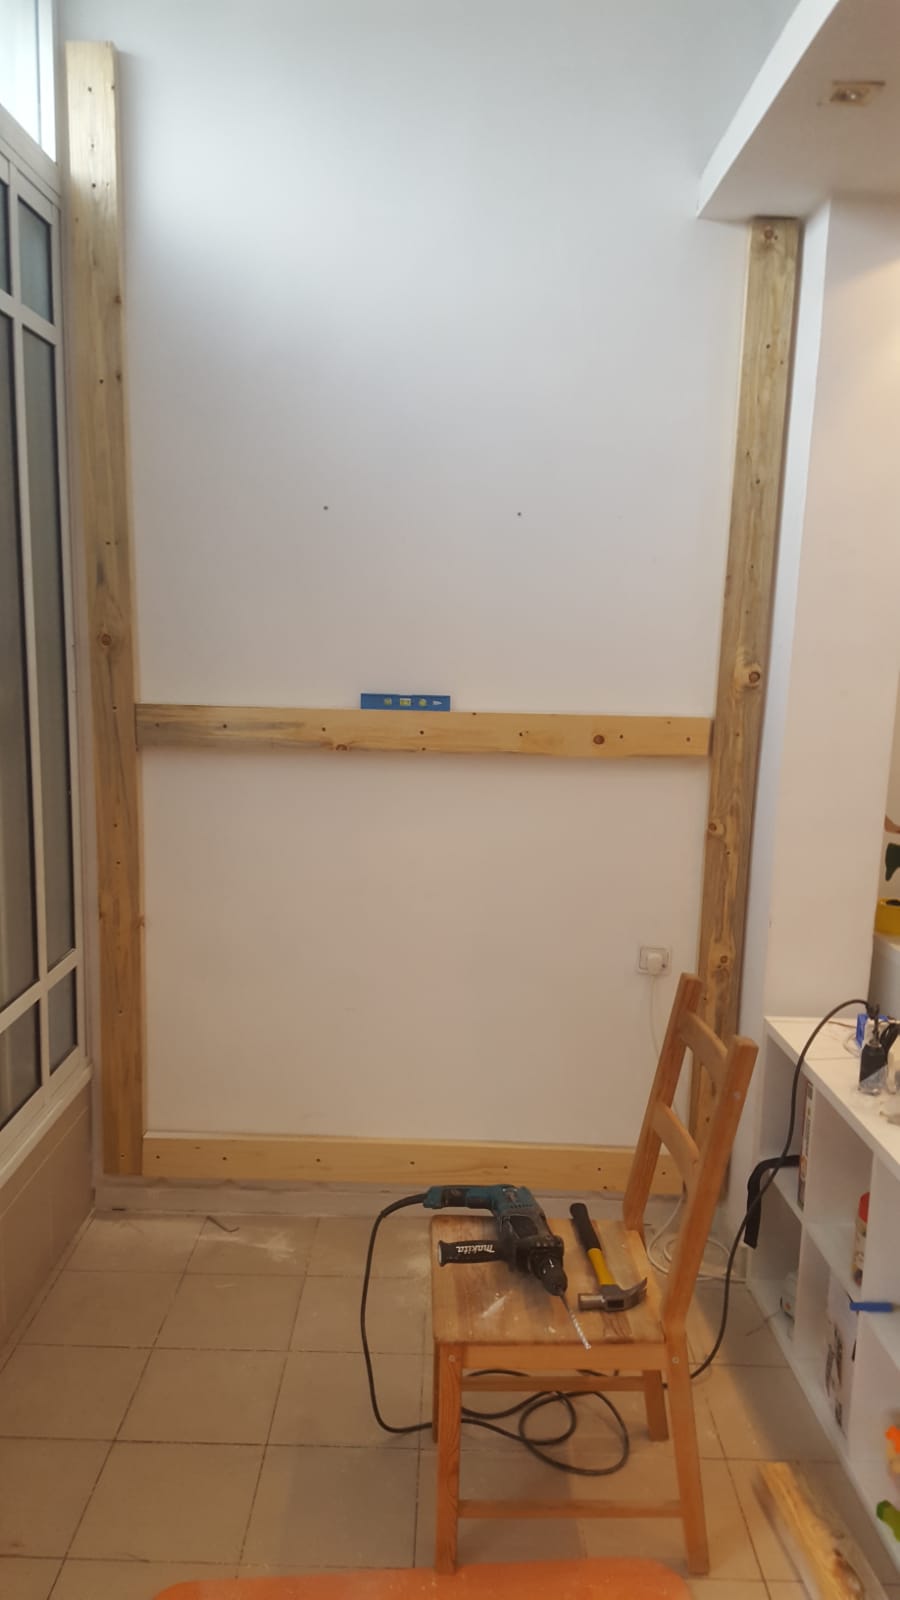 Second horizontal board
 checking the height, the gypsum on the right made us lower the plywood by couple of cm.
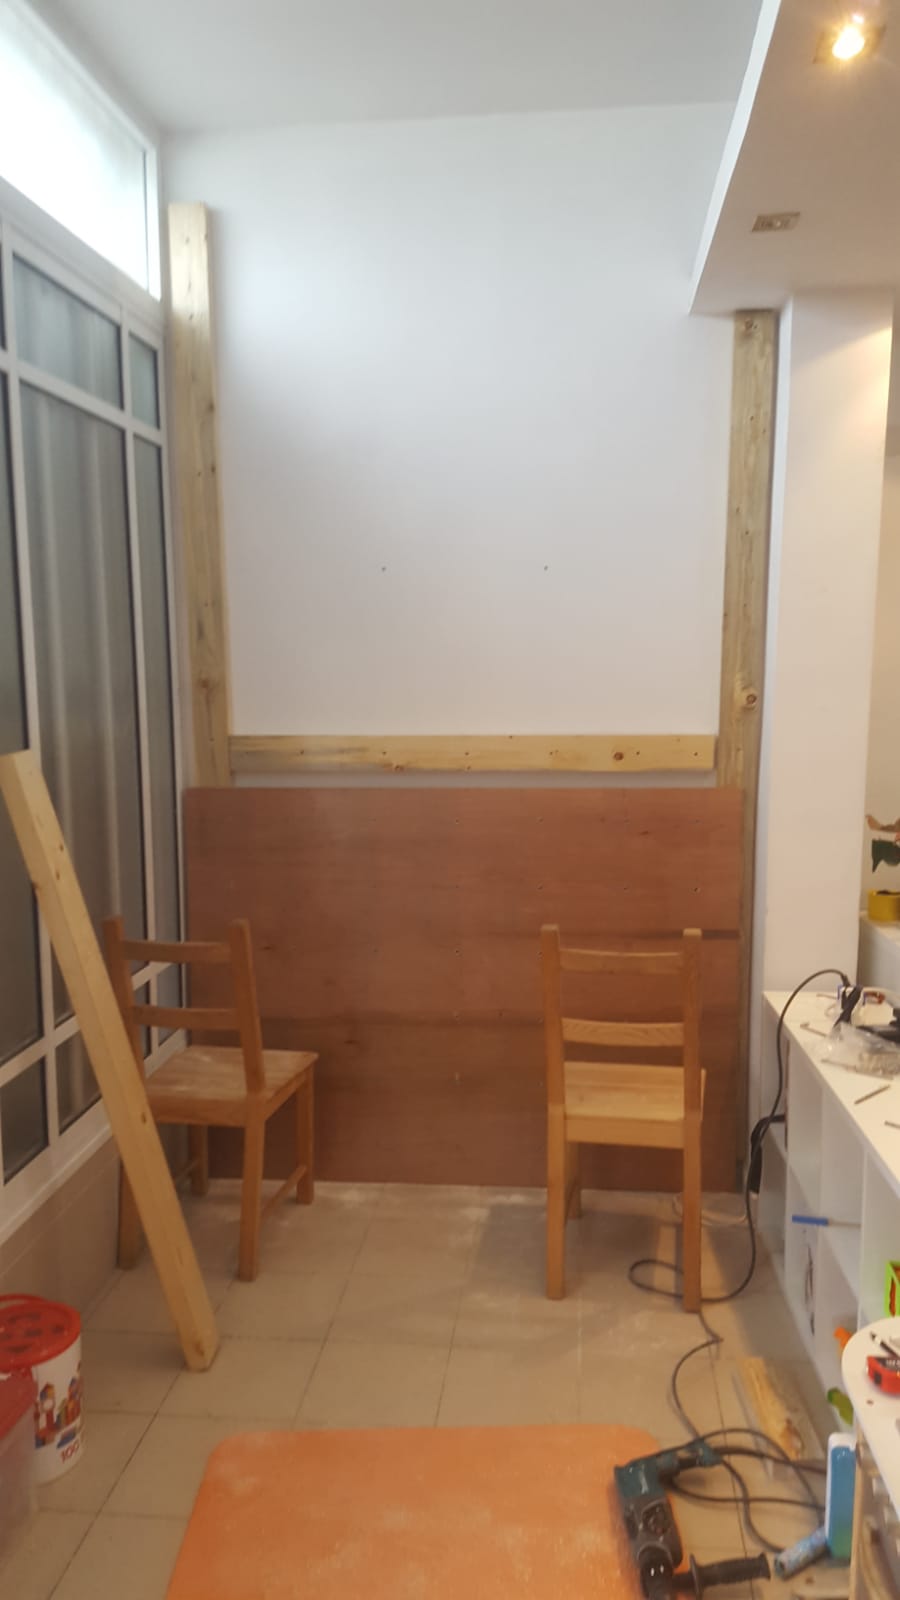
 3rd and last horizontal board
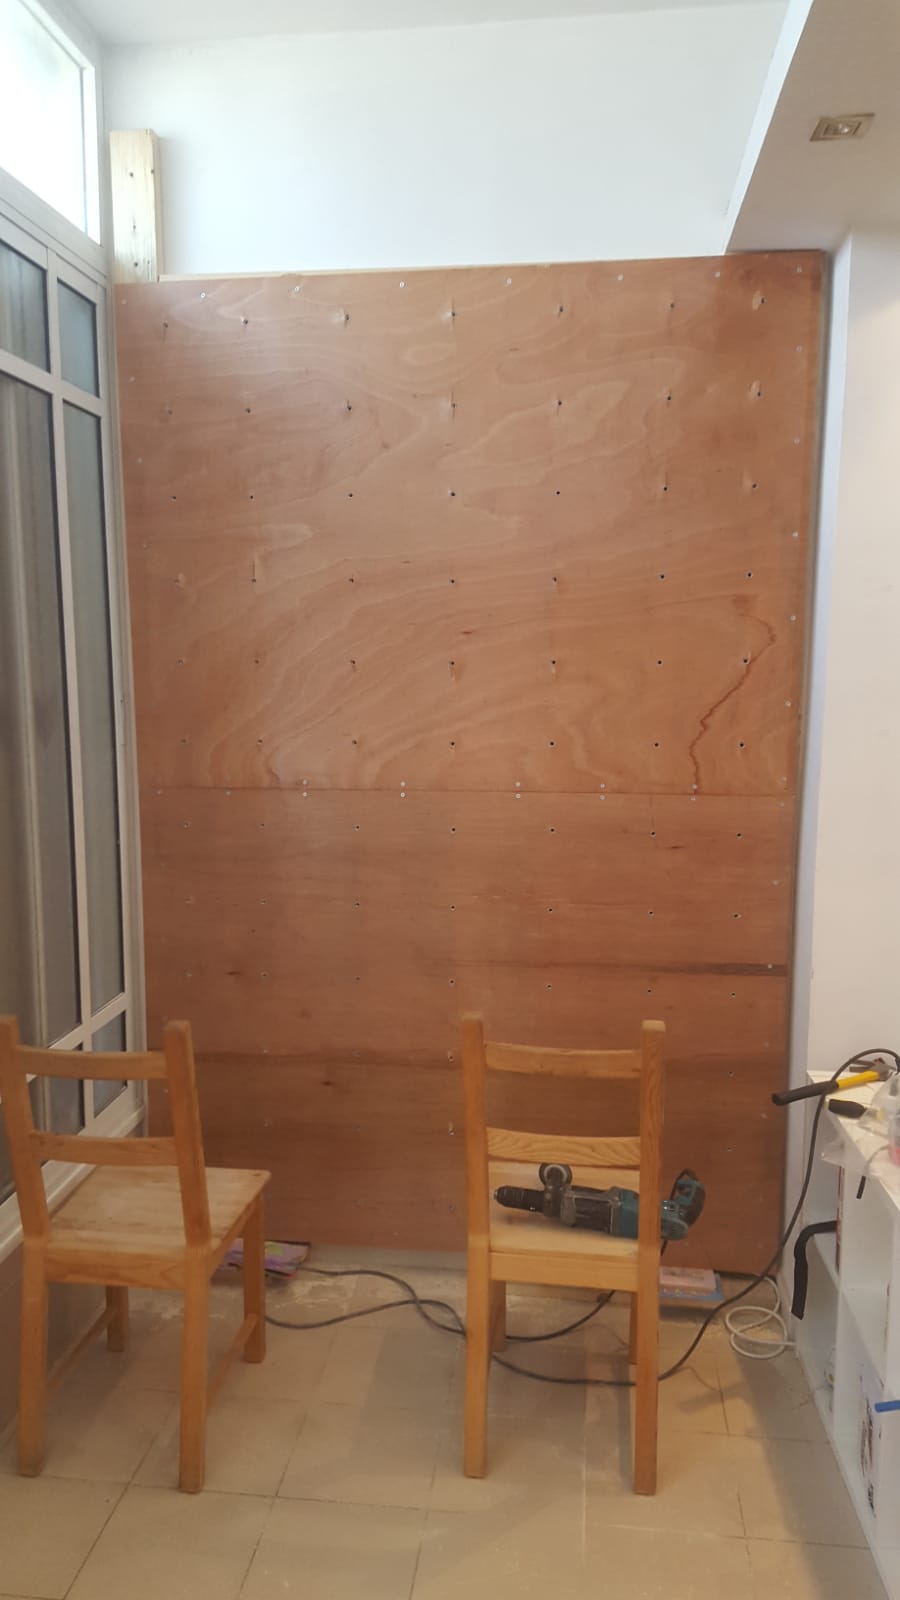 Almost done – just wood screws on the parameter
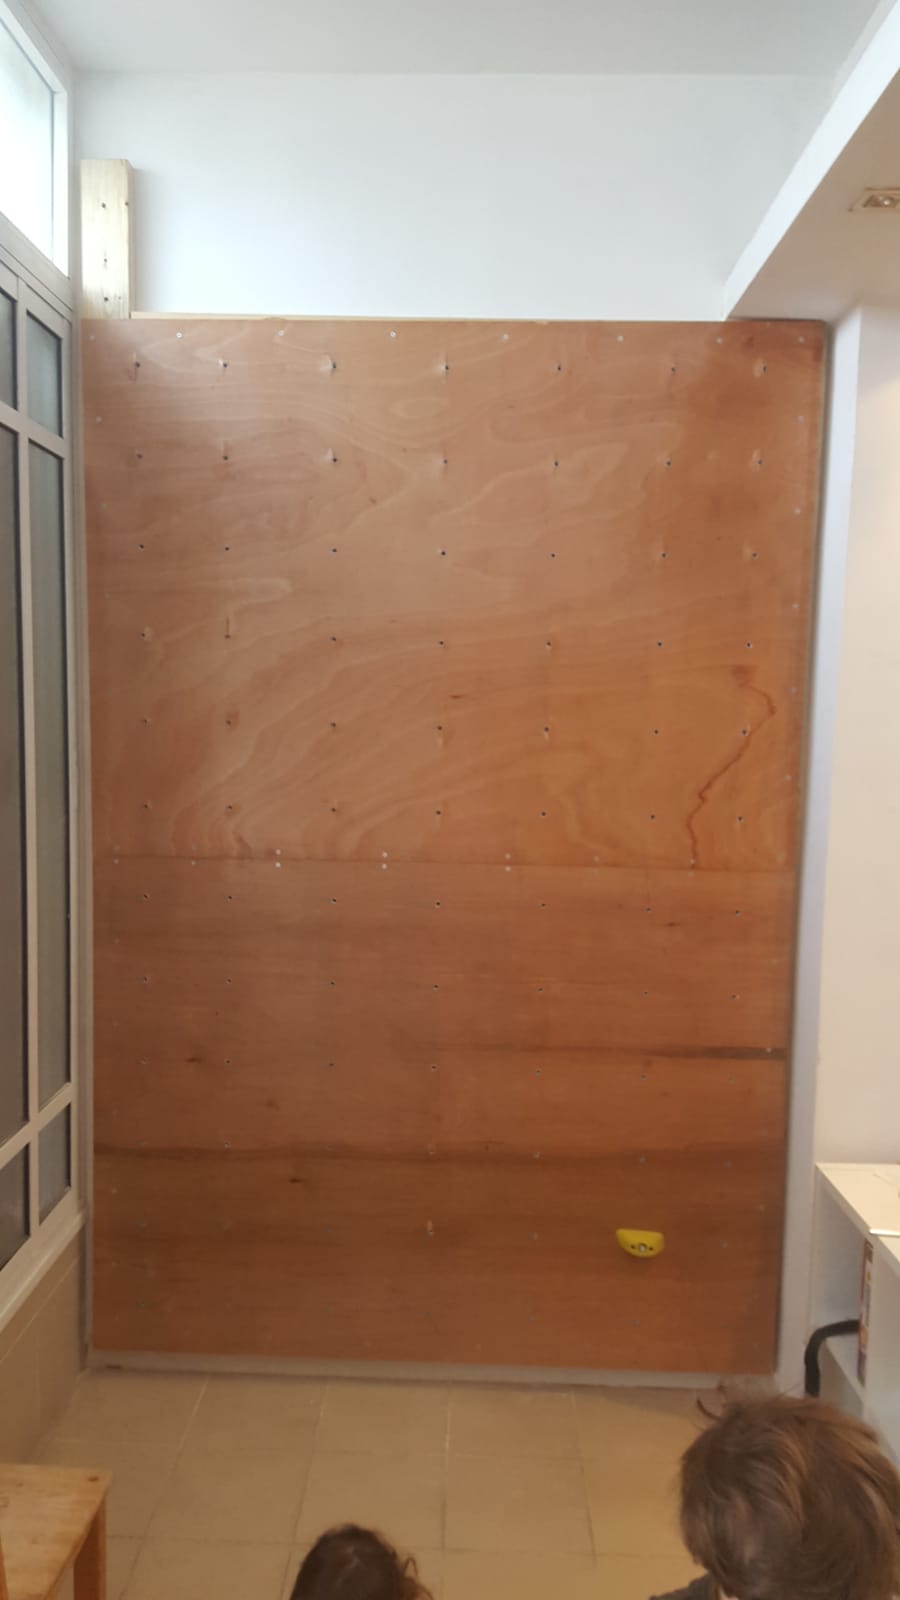
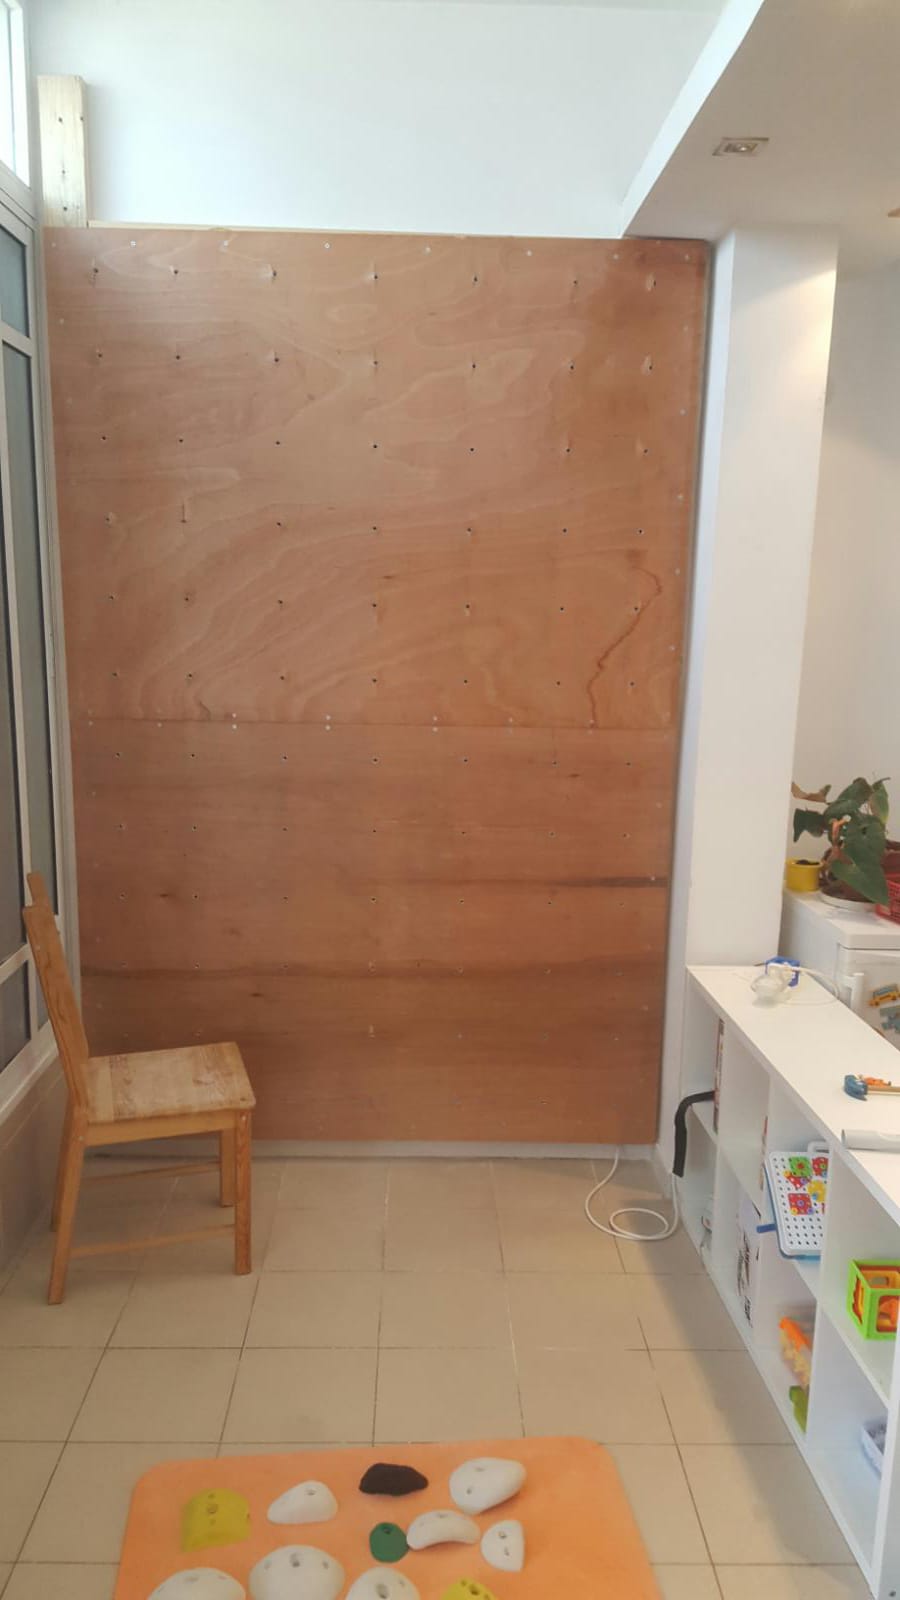 The plywood is done, no the rocks!
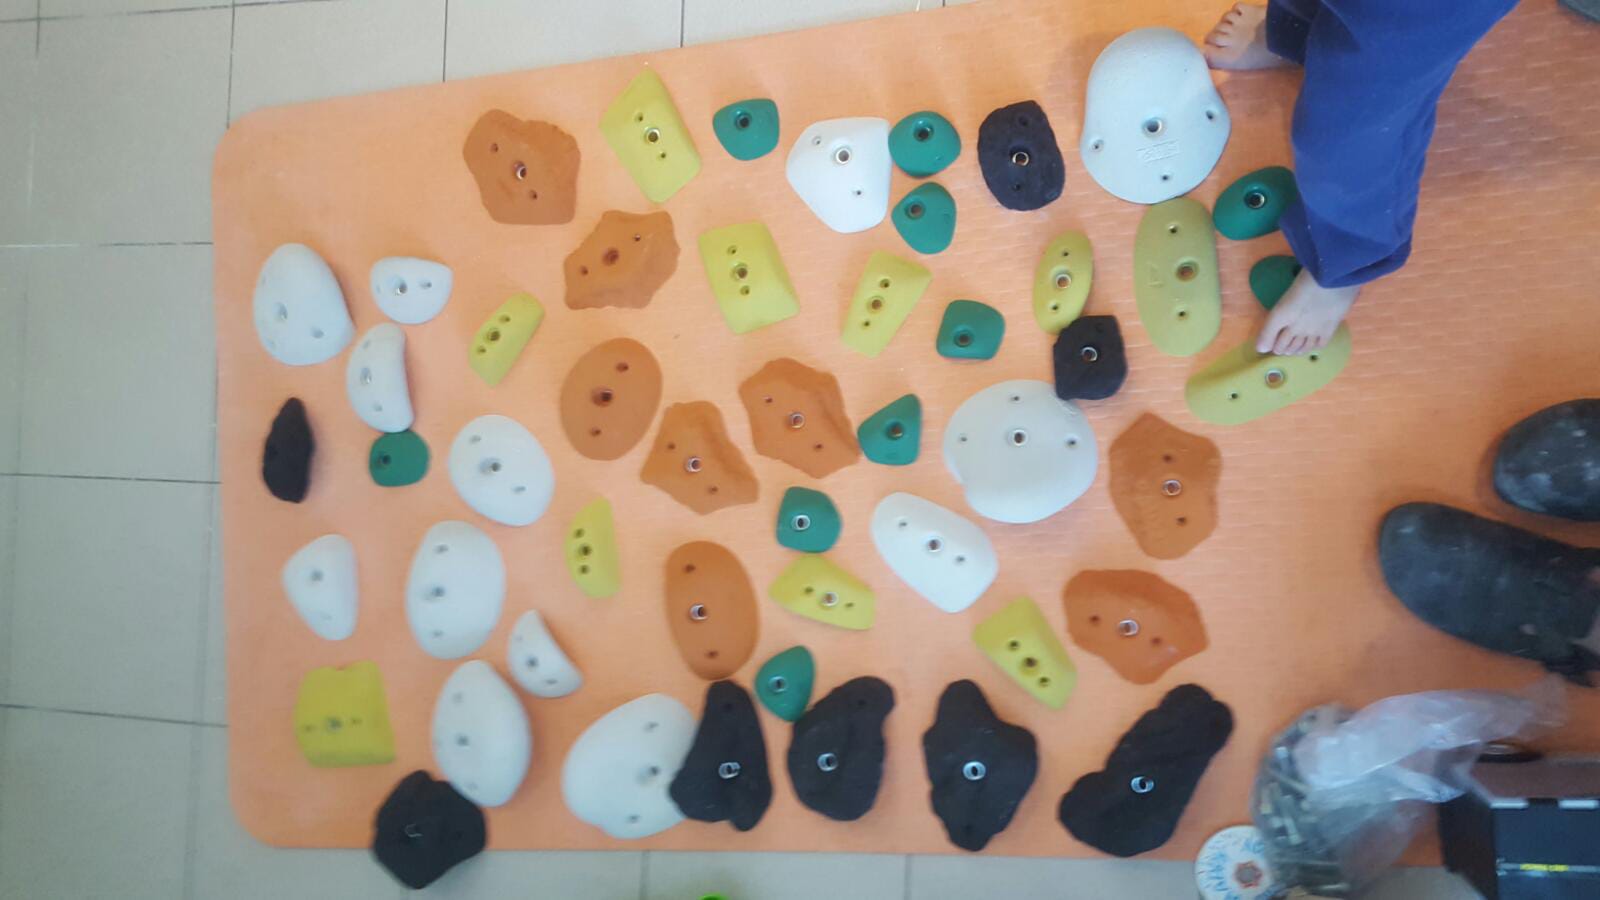 The climbing rocks on the floor, ready to be installed
 First rock on the wall
Installing the rest of the rocks
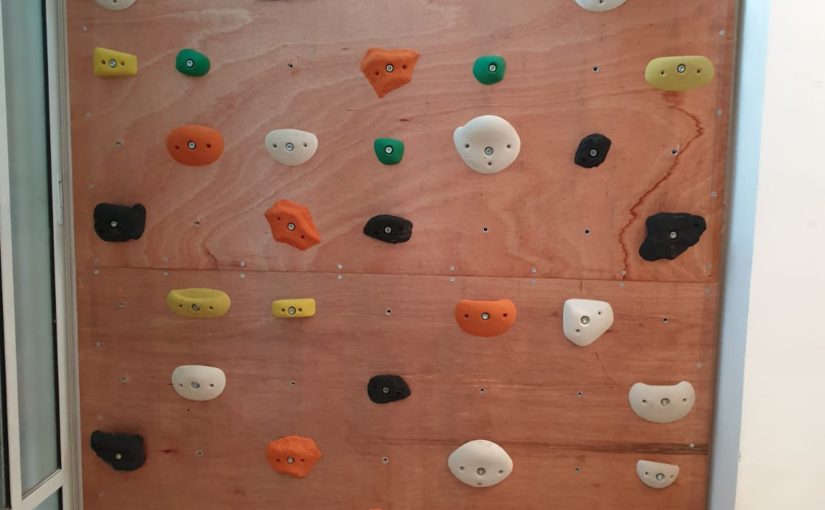
 And the wall is ready! and we all tired at the moment to climb on it